This page is part of the legacy 1.0.x documentation. We recommend using the latest documentation instead.
Add Material Backgrounds
Because the WebSpatial SDK currently offers only a React SDK, all examples in this document use React.
APIs covered in this section:
--xr-background-materialborder-radius,display,visibility,opacity--xr-z-index
With the help of the WebSpatial SDK, two main subjects in each Scene of the WebSpatial app can dynamically render their background based on the surrounding spatial environment.
Translucent or Fully Transparent Window Scenes
The first subject is the entire Window Scene and the webpage itself.
You can give the <html> tag a style that makes the whole window use a translucent material background with rounded corners, or turn the window fully transparent and border-less.
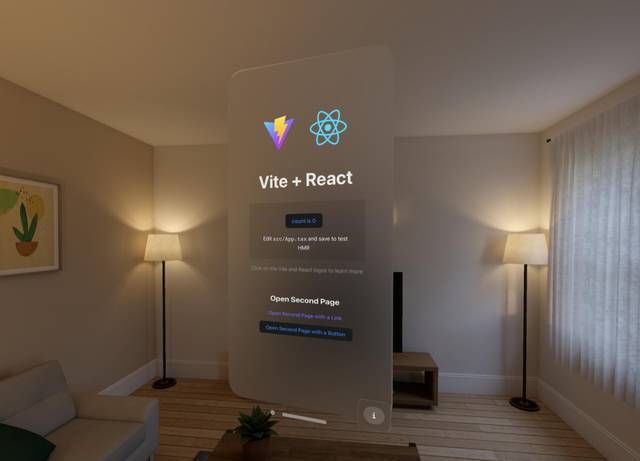
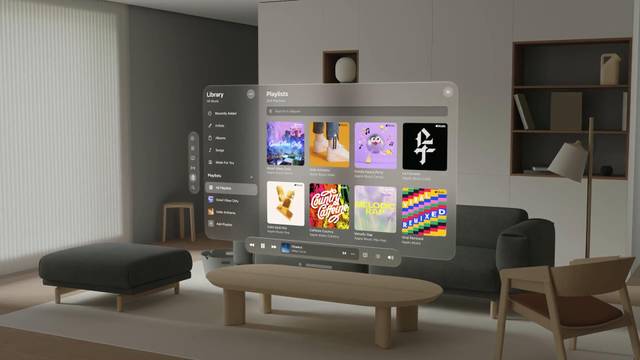
Example based on the Quick Example: a Window Scene with a translucent material background and rounded corners
html.is-spatial {
  background-color: transparent;
  --xr-background-material: translucent;
  border-radius: 10%;
- To add a translucent background, the default value is
translucent. If the window is nested inside other translucent material content and needs to be visually separated, you can choose from other material options. - Use
border-radiusto control the roundness of the window border. - The same style can be written inline, for example
<html style="--xr-background-material: translucent;">. - You can also set it dynamically through
document.documentElement.style. - The default value of
--xr-background-materialisnone. If you omit this property in the window style or set it explicitly tonone, the window falls back to the default opaque webpage background color like in a regular browser.Note that
nonemeans "do not apply any custom setting". It is not equivalent to "no material background".
Example from the Techshop demo: a fully transparent, border-less window scene
html.is-spatial {
  background-color: transparent;
  --xr-background-material: transparent;
Translucent HTML Elements
The second subject is any spatialized HTML element.
Unlike a web page window, HTML elements are naturally transparent (you can see the parent node's background through them). After an element is spatialized, its default state is already a fully transparent material background, equivalent to --xr-background-material: transparent.
For a spatialized HTML element,
--xr-background-material: none(no custom setting) is the same as--xr-background-material: transparent.
However, you can only perceive this fully transparent material once the spatialized HTML element has been elevated into 3D space.
Example based on the Quick Example:
  .link-card {
    --xr-background-material: translucent;
    border-radius: 20px;
    position: relative;
    --xr-back: 50;
    top: 20px;
Removing the --xr-background-material property from the .link-card element reveals that it is transparent by default.
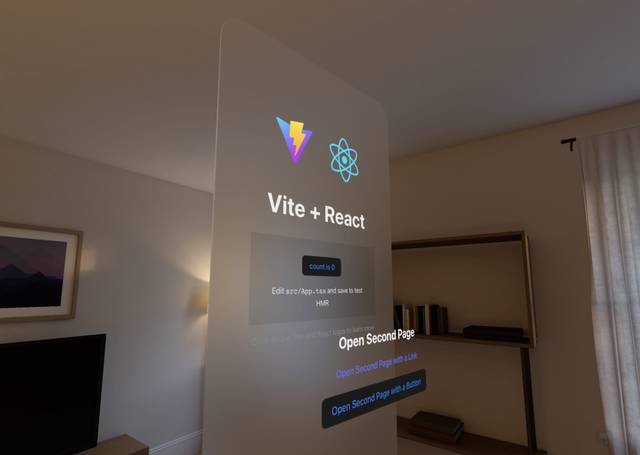
Whether or not the spatialized HTML element is elevated, you can set --xr-background-material: translucent (or one of the other options) to give it a translucent background.
Example based on the Quick Example:
  .link-card {
    --xr-background-material: translucent;
Additional Material Options
Besides none (no custom setting), transparent (fully transparent), and translucent (default translucent material), --xr-background-material supports:
regular– Use together withtranslucentto differentiate adjacent blocks, such as a sidebar background.thick– Suitable for content nested inside another material background.thin– Good for interactive elements and highlighted selections.

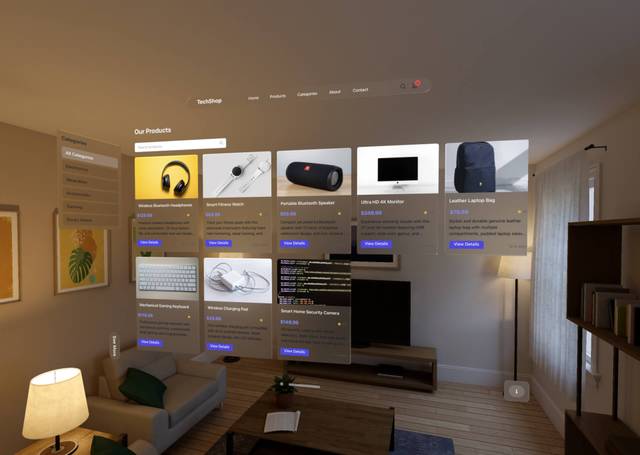
Example from the Techshop demo:
        <div
          enable-xr
          className="list-meun w-full md:w-64 shrink-0">
          <div
            enable-xr
            className="list-meun-bg bg-white rounded-lg shadow-md p-4"
          >
            <h2 className="text-lg font-semibold text-gray-800 mb-4">
              Categories
            </h2>
            <ul className="space-y-2">
             {categories.map(
                (category, index) =>
                  category !== "All" && (
                    <li key={index}>
                      <button
                        enable-xr
                        style={
                          import.meta.env.XR_ENV === "avp"
                            ? selectedCategory === category
                              ? {
                                  "--xr-background-material": "thin",
                                }
                              : {
                                  "--xr-background-material": "thick",
                                }
                            : {}
                        }
The sidebar menu itself uses a translucent material background. Items inside the menu use thin or thick depending on whether they are selected, creating clear visual separation from the menu background.

Content Visibility and Opacity
For spatialized HTML elements with a translucent background, you can still use the CSS display and visibility properties to control the visibility of the whole element.
The CSS opacity property continues to affect the entire element, including both the material background and the foreground content.
Stacking Order
If a spatialized HTML element is NOT elevated, it remains part of the plane of its parent element. That plane can be the whole window scene's plane, or a new plane created by an elevated parent element.
Multiple HTML elements located on the same plane follow normal DOM order to decide which one covers the other. For sibling nodes, later nodes cover earlier ones.
Within the same stacking context element (for example, an element that uses position or transform), you can also use z-index to change the stacking order.
Current WebSpatial SDKs have one limitation:
When overlap occurs, spatialized HTML elements always cover non-spatialized HTML elements.
Therefore, to let an HTML element cover a spatialized element, you must spatialize the former as well.
As a result, only the stacking order among spatialized elements on the same plane is relevant. There is no stacking order between those spatialized elements and other non-spatialized elements on that plane (because the spatialized ones always cover the others). The regular z-index API cannot help in that case.
To bridge the gap, WebSpatial SDK introduces a transitional API: --xr-z-index (this property's value is an integer).
Multiple spatialized HTML elements inside the same spatialized element can use --xr-z-index to change their relative stacking order.
- The parent spatialized element acts like a stacking context.
- In the nesting structure between the parent and its children, there must not be another spatialized element acting as an intermediate parent.
Remember, --xr-z-index only changes stacking order on the same plane. It does NOT move elements along the Z-axis and is completely separate from the Elevate 2D Elements API.