This page is part of the legacy 1.0.x documentation. We recommend using the latest documentation instead.
Quick Example
Use a minimal example to get a quick feel for the actual results and development experience of the WebSpatial SDK, covering project setup, SDK installation and configuration, a sample development workflow, and a preview of spatial features.
- This is NOT a development guide.
- To keep this example short and clear to quickly show real results, no explanations are given here.
- To make sure everything runs properly, please follow each step exactly - many of them are absolutely essential.
- This document includes detailed links, feel free to skip them for a quick example run.
- After you have completed the demo, you can dive into the real development guide.
- To develop on Apple Vision Pro, please ensure you are using the latest versions of visionOS and Xcode.
You can follow this doc to build the demo from scratch, or just grab the ready-made version from the repo. You can also watch this video for a quick overview of everything in the doc:
1. Create a modern web project that supports WebSpatial
First confirm that Node.js is installed (see the Node.js official website).
Using a standard React + Vite + TypeScript project as an example, run the following commands to create the project:
- npm
- pnpm
- Yarn
npx create-vite --template react-ts
pnpm dlx create-vite --template react-ts
yarn dlx create-vite --template react-ts
See what kinds of web projects are considered WebSpatial-supported for details.
2. Install the WebSpatial SDK
Run the following commend under your project root:
Check the video tutorial at 0:26
- npm
- pnpm
- Yarn
npm install --save @webspatial/react-sdk @webspatial/core-sdk
npm install --save-dev @webspatial/builder @webspatial/platform-visionos
pnpm add @webspatial/react-sdk @webspatial/core-sdk
pnpm add --save-dev @webspatial/builder @webspatial/platform-visionos
yarn add @webspatial/react-sdk @webspatial/core-sdk
yarn add --dev @webspatial/builder @webspatial/platform-visionos
See which dependencies are installed for details.
3. Integrate the WebSpatial SDK into the web build tool (Vite)
First modify tsconfig.app.json and tsconfig.node.json, adding the configuration that affects JSX compilation.
{
  "compilerOptions": {
    "jsxImportSource": "@webspatial/react-sdk",
Run the Dev Server (keep it running in the following steps):
- npm
- pnpm
- Yarn
npm run dev
pnpm run dev
yarn dev

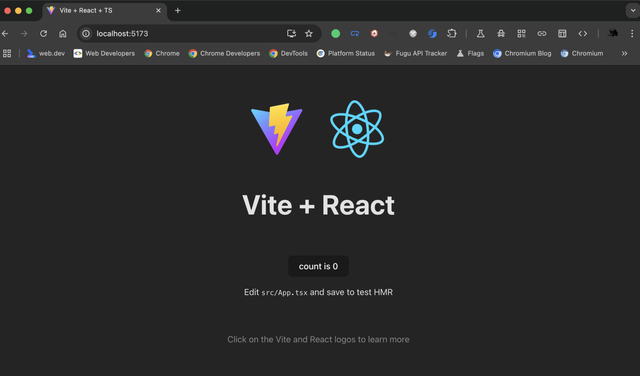
Open the URL shown in the terminal in a desktop browser such as Chrome to confirm everything works:
4. Package and run the WebSpatial app
Before using the packaging tool for WebSpatial, install Xcode and the visionOS simulator:
Prerequisite: a Mac computer
Steps:
- Open the Mac App Store, search for "Xcode", and install it.
- On first launch, agree to the license and enter the admin password to install additional components.
- Click the top menu "Xcode" > "Settings…". In the "Components" tab, find visionOS and visionOS Simulator under "Platform Support", then install both.
Run the development command (run) of the packaging tool:
Check the video tutorial at 3:22
- npm
- pnpm
- Yarn
npx webspatial-builder run --base=http://localhost:5173
pnpm dlx webspatial-builder run --base=http://localhost:5173
yarn dlx webspatial-builder run --base=http://localhost:5173
If your dev server is not running on port 5173 replace http://localhost:5173 with the URL generated by npm run dev in the previous step.
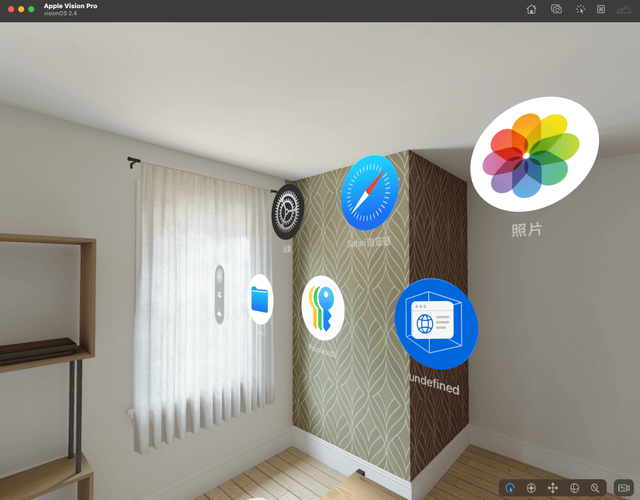
The visionOS simulator will automatically launch, installs the Packaged WebSpatial App, and runs it:
5. Set initialization properties for the start scene
Create a incomplete Web App Manifest file (this only works with the webspatial-builder run command, you'll need to complete it before running on a real device or distributing it).
touch public/manifest.webmanifest
Set the default size for the start scene in xr_main_scene.
{
  "xr_main_scene": {
    "default_size": {
      "width": 500,
      "height": 1000
    }
  }
}
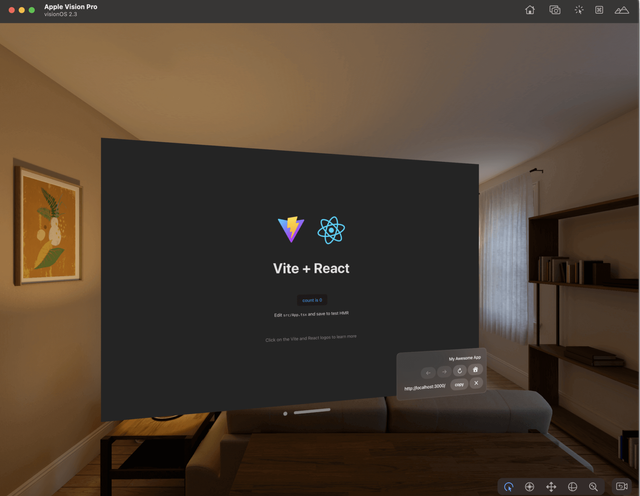
Run the run command of the WebSpatial Builder again. The app's start scene now appears with a mobile app style:
A current bug may leave the start scene blank after repackaging. If this happens, delete the app in the simulator, quit the simulator, then package and run again.
If the issue persists, delete node_modules in the project and reinstall dependencies.

6. Add a new scene
First add a new page. In this demo we use client-side routing.
Create src/SecondPage.tsx.
Check the sample code in GitHub for this step if you have any question about the code you need to add.
import { useState } from "react";
import "./App.css";

function SecondPage() {
  const [count, setCount] = useState(0);

  return (
    <div className="App">
      <h1>Second Page</h1>
      <div className="card">
        <button onClick={() => setCount(count => count + 1)}>
          count is {count}
        </button>
      </div>
    </div>
  );
}

export default SecondPage;
Add the following to src/App.tsx.
import { BrowserRouter as Router, Routes, Route, Link } from "react-router-dom";
import SecondPage from "./SecondPage";
Install a library that supports client-side routing.
- npm
- pnpm
- Yarn
npm install --save react-router-dom
pnpm add react-router-dom
yarn add react-router-dom
Move all existing JSX in src/App.tsx into the designated position in the new JSX:
  return (
    <Router>
      <Routes>
        <Route path="/second-page" element={<SecondPage />} />
        <Route
          path="/"
          element={
            /* Move all JSX from the App component in src/App.tsx into here */
          }
        />
      </Routes>
    </Router>
  );
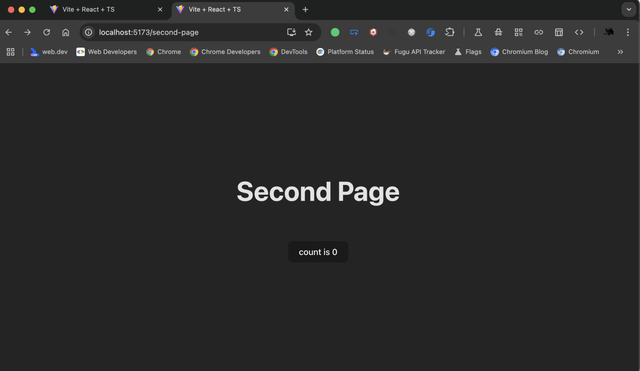
The new page /second-page has been added:
At the end of the existing content in src/App.tsx (below <p className="read-the-docs">), add a card containing:
- A link that always opens
/second-pagein a new window. - A button that opens
/second-pagein a window with the specifiedname.
              <p className="read-the-docs">
                Click on the Vite and React logos to learn more
              </p>
              <div className="card" style={{ marginTop: "0px" }}>
                <h2>Open Second Page</h2>
                <p>
                  <Link to="/second-page" target="_blank">
                    Open Second Page with a Link
                  </Link>
                </p>
                <p>
                  <button
                    onClick={() => {
                      window.open(`/second-page`, "secondScene");
                    }}>
                    Open Second Page with a Button
                  </button>
                </p>
              </div>
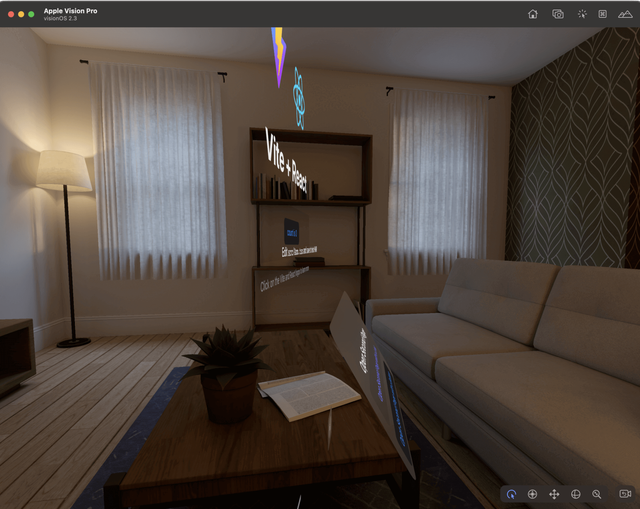
Clicking the link or button opens a new spatial-app scene that displays the content of /second-page:
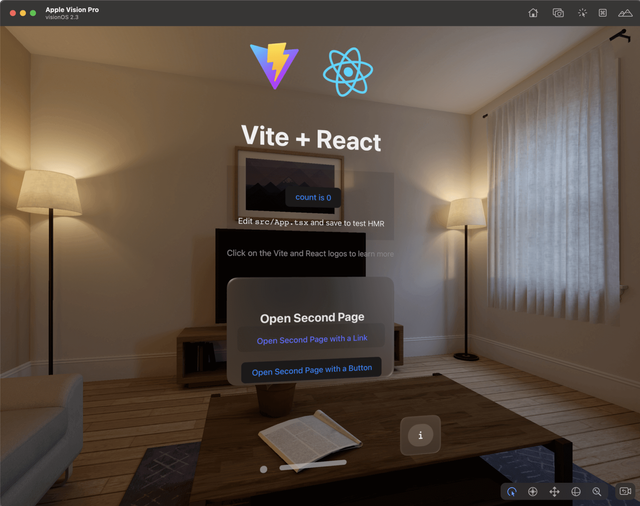
7. Set initialization properties for the new scene
Import the scene initialization API from the WebSpatial SDK in src/App.tsx.
import { initScene } from "@webspatial/react-sdk";
Before the scene named "secondScene" opens, initialize it:
                    onClick={() => {
                      initScene("secondScene", prevConfig => {
                        return {
                          ...prevConfig,
                          defaultSize: {
                            width: 500,
                            height: 500,
                          },
                        };
                      });
                      window.open(`/second-page`, "secondScene");
Click the button and see that the default size of the secondScene scene changes:
8. Add material backgrounds
Edit the main.tsx file to add a special classname to the <html> element when this web code is executed as a WebSpatial app.
import { Spatial } from "@webspatial/core-sdk";

if (Spatial.prototype.runInSpatialWeb()) {
  document.documentElement.classList.add("is-spatial");
}
At the end of src/index.css, add code that sets the scene background to a fully transparent material (using --xr-background-material from the WebSpatial API):
html.is-spatial {
  background-color: transparent;
  --xr-background-material: transparent;
}
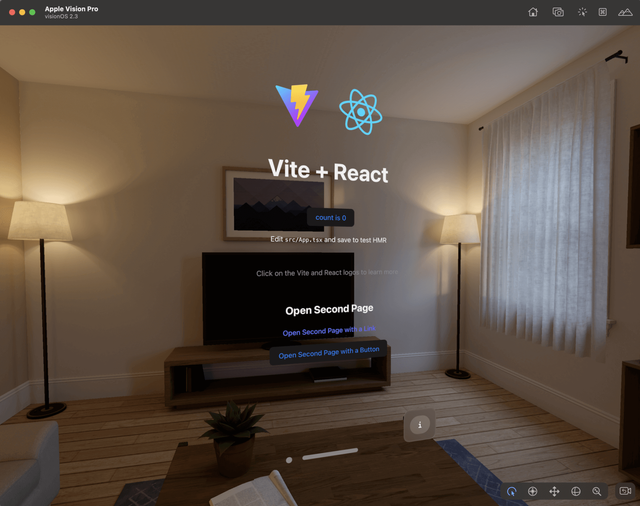
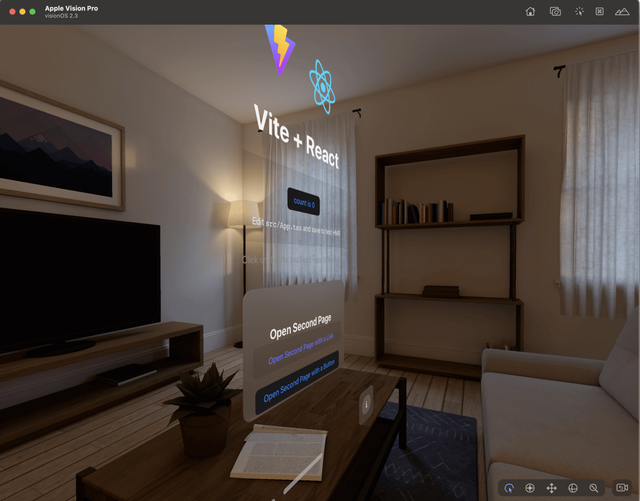
Modify src/App.tsx to make both card elements "spatialized HTML elements" by adding a specific mark, and give them different classnames. Spatialize the link inside link-card as well.
              <h1>Vite + React</h1>
              <div className="card">
              <div className="card count-card" enable-xr>
              <div className="card">
              <div className="card link-card" enable-xr>
                <h2>Open Second Page</h2>
                <p>
                  <a href="/second-page" target="_blank">
                  <a href="/second-page" target="_blank" enable-xr>
                    Open Second Page with a Link
                  </a>
In the styles in src/index.css, set different translucent materials for the backgrounds of the two card elements and the link.
html.is-spatial {
  background-color: transparent;
  --xr-background-material: transparent;

  .count-card {
    --xr-background-material: thick;
    position: relative;
  }

  .link-card {
    --xr-background-material: translucent;
    border-radius: 20px;
    position: relative;
    top: 20px;

    a {
      display: block;
      --xr-background-material: thick;
      border-radius: 10px;
    }
  }
}
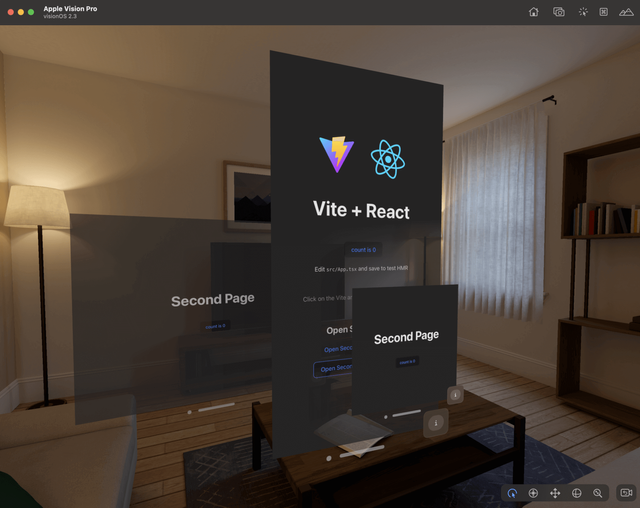
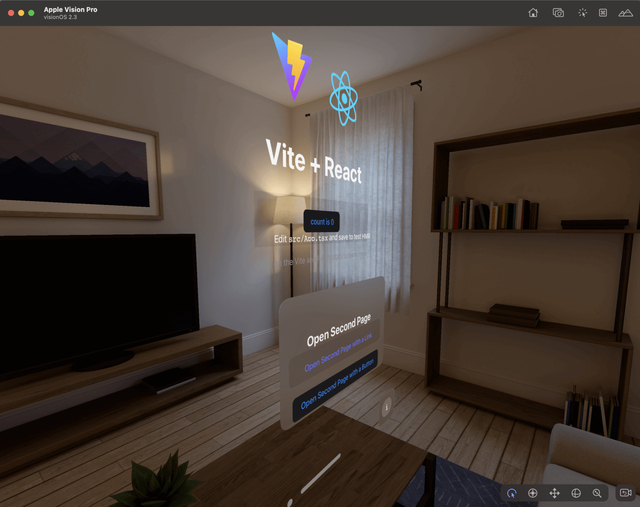
9. Elevate spatialized elements
In src/App.tsx, mark the description text inside count-card as a spatialized HTML element.
                <p>
                <p enable-xr>
                  Edit <code>src/App.tsx</code> and save to test HMR
                </p>
In the styles in src/index.css, change this element to position: relative and use the WebSpatial's Z-axis positioning API (--xr-back) to "elevate" it into 3D space in front of the web page plane. Also apply different levels of 'elevation' to the link elements spatialized earlier.
  .count-card {
    --xr-background-material: thick;
    position: relative;

    p {
      --xr-background-material: transparent;
      position: absolute;
      bottom: -10px;
      left: 0;
      right: 0;
      --xr-back: 20;
    }
  }

  .link-card {
    --xr-background-material: translucent;
    border-radius: 20px;
    position: relative;
    --xr-back: 50;
    top: 20px;
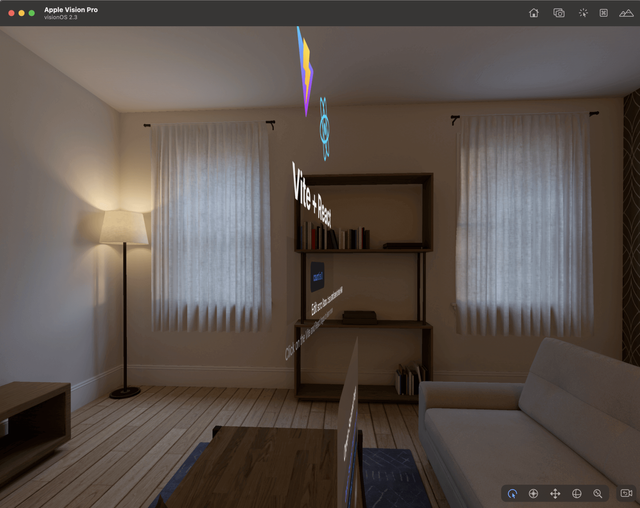
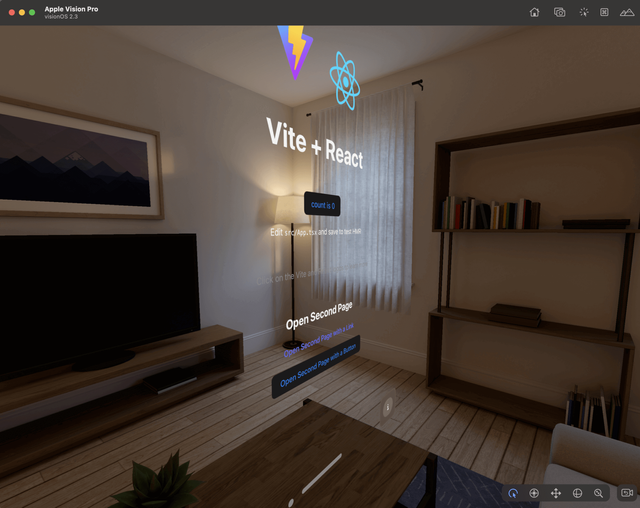
Another way to "elevate" is to use CSS Transform, which can also deform and rotate in 3D space.
For the styles in src/index.css, move and rotate link-card along the Z axis (around the X axis):
  .link-card {
    --xr-background-material: translucent;
    border-radius: 20px;
    position: relative;
    --xr-back: 50;
    top: 20px;
    transform-origin: top left;
    transform: translateZ(30px) rotateX(30deg);
10. Add static 3D content
To be added
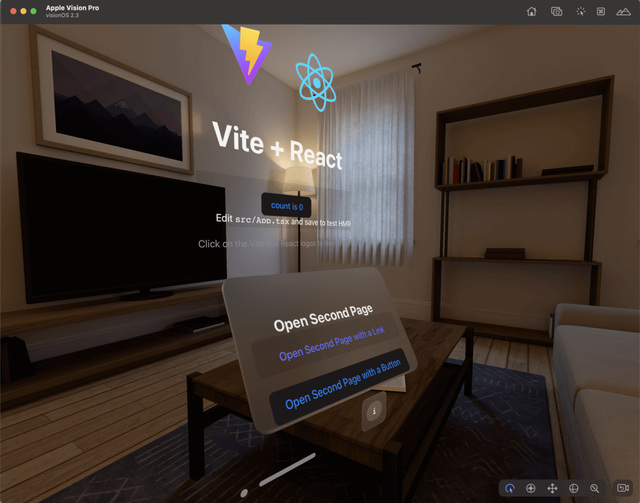
Final result
The full source code for this demo is in the repository:
https://github.com/webspatial/quick-example
You can either follow the steps in this article to build an identical demo project from scratch, or just clone the repo and run it using the README instructions.